-
Prep Time5 Mins
-
Cook Time30 Mins
-
Serving8
-
Ready In35 Mins
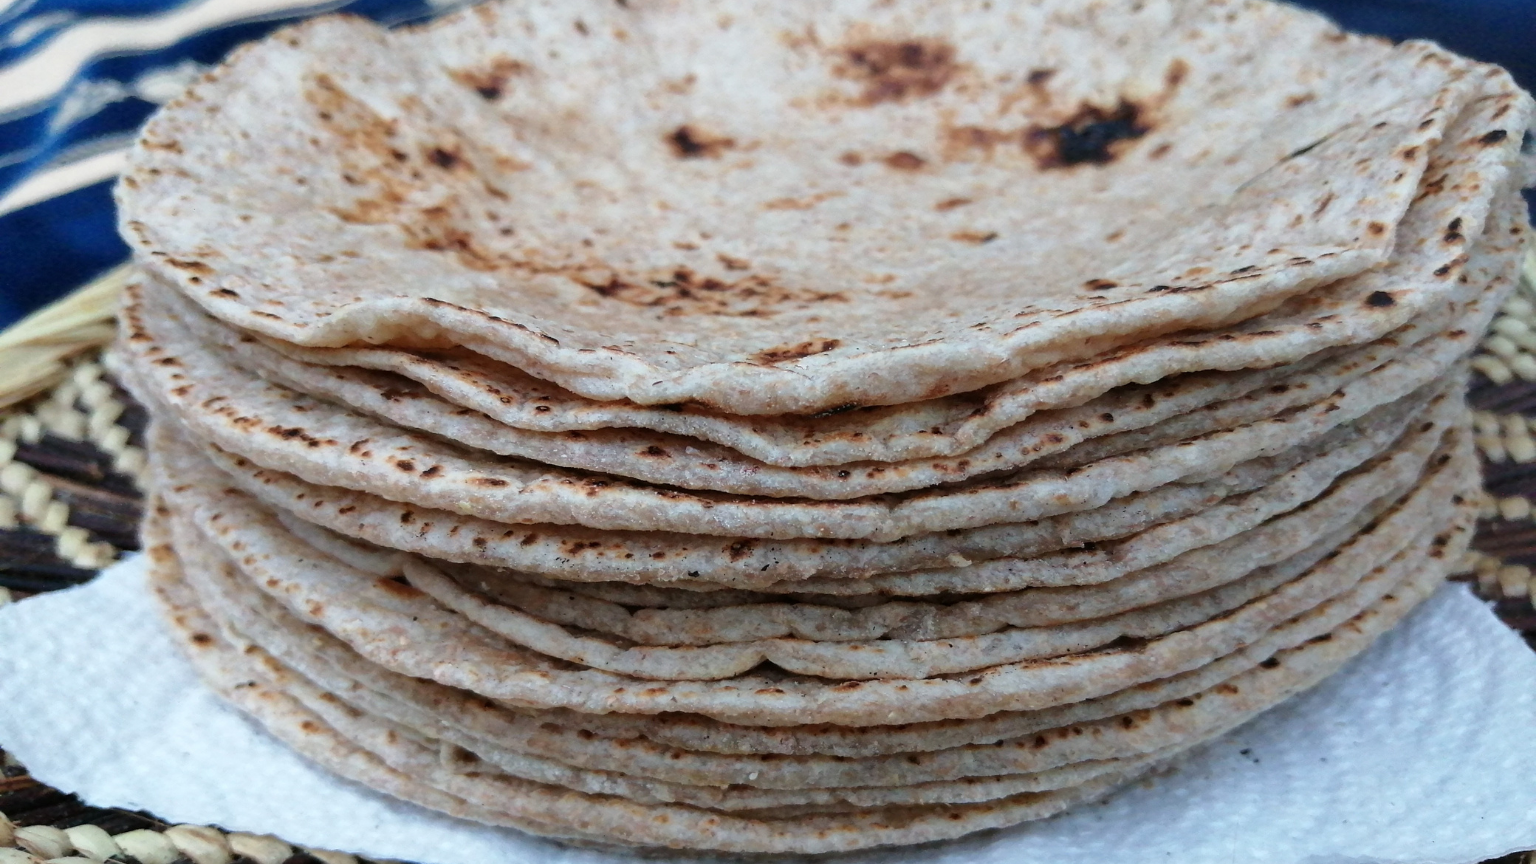
Roti is a huge part of the Indian cuisine. It is almost made every other day in many Indian households
What is roti?
Roti is a type of flatbread served with lots of Indian food most commonly served with curries instead of rice or used as a wrap. This flatbread is made without yeast and is made with a simple mixture of just 4 ingredients
Here are some tips to make sure you get the perfect chapattis every time:
KNEADING THE DOUGH:
When you’re kneading your roti dough, it is important that the dough is soft and pliable but not too soft as this will make your rolling process much harder! The dough shouldn’t be too sticky or too dry. If either do happen, just add a little more water or a little more flour, just make you add it gradually!
ROLLING OUT THE ROTIS:
This part can be quite hard to master and takes lots of practice and patience but don’t get too obsessed with making it perfectly circular. Don’t worry if your roti looks a little like the shape of Africa!! As long as it is somewhat circular it will do. A great tip that we’ve shown in the video is to start off with a round tight ball with the seam side down. This will give your roti more of a chance to get it circular. Start with applying even pressure from the centre and pull towards the edge. Turn the chapatti and continue with the same movement. Once the chapatti is almost the correct thickness start only applying pressure to the edges.
How do I store my rotis?
Store the rotis in an airtight container as soon as you finish making them. This will prevent them from getting hard. Make sure that there is a tissue or cloth at the top and bottom to avoid them getting soggy because of the condensation. We use a hot pot to store our rotis
They can be kept in the freezer for up-to a month. Put the freshly cooked chapattis in a zip lock bag and place them flat in the freezer. To reheat frozen rotis, all you need to do is place a few of them spread out in your microwave and flip every 30 seconds. It should take around 2 minutes but this all depends on your microwave
Ingredients
Directions
Here's the step by step recipe that will give you the BEST chapattis every time!!
Into the flour add the oil and salt. Mix well
Then gradually add the boiling water and mix with a spoon
Once the dough is cool enough to touch begin kneading using the method shown in the video for around 5 minutes
The dough should be soft but not sticky. Slightly oil your hands and knead for a further minute (TIP- if the dough does become sticky add a small amount of flour and oil your hands to help bring it together)
Then, form the individual balls to your preferred size. (TIP- ours was around 65g. 1 cup of flour makes around 7 rotis depending on what size you make)
Cover the dough with a cloth whilst rolling. Make sure each ball is tight and round as this will help the roti stay round
Lightly flour as shown in the video and place the ball seam side down on your floured surface. (TIP- try to us as little flour as possible, using too much can make the chapatti hard)
Then, roll the roti using the method shown in the video. The thickness should be around 2-3mm. (TIP- if rolled too thinly the roti will go hard when cooking) Apply equal pressure in the centre. Then start rolling from the edges to the correct thickness. The diameter should be around 7-8 inches- this will depend on the size you choose to make your rotis
Place the roti on a hot flat pan on a high flame. Timing may differ from stove to stove but this is an approximate guide. Use the video as reference
Wait around 7 seconds or until bubbles form and then flip
For the second round wait around 20 seconds or until bubbles form and then flip
On the third round use a cloth to help puff the roti up - applying pressure to the edges of the chapatti - and then flip. Flip a few more times if needed, until no uncooked patches remain and then remove from the heat
Repeat this process for all the chapattis! It's really not that hard once you get the hang of it


Leave a Review